How to Apply Press-on Nails: A Step-by-Step Guide
Do you want to know how to apply press-on nails? Welcome to our ultimate guide on how to apply press on nails. Whether you’re a beginner or an experienced nail enthusiast, this comprehensive step-by-step guide will equip you with the knowledge and techniques to achieve flawless manicures with press on nails. Discover the convenience and versatility of this popular nail trend as we walk you through the process from start to finish.
How to Apply Press-on Nails?
Prepping Your Natural Nails
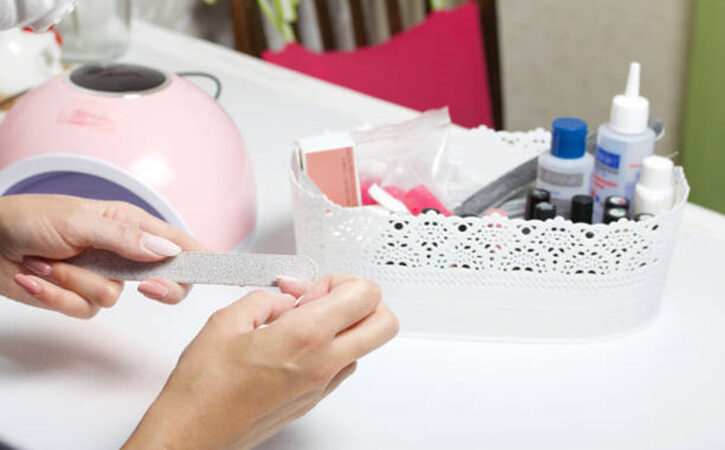
Before diving into the world of press on nails, it’s crucial to properly prepare your natural nails to ensure a long-lasting and seamless application. To begin, gather all the necessary tools such as a nail file, cuticle pusher, and nail buffer. Start by removing any existing nail polish using a gentle nail polish remover. Once your nails are polish-free, trim them to your desired length and shape. Next, gently push back your cuticles using a cuticle pusher or a wooden stick. Be careful not to cut or damage the cuticles as they serve as a protective barrier for your nail beds.
After preparing the cuticles, it’s time to shape your nails. Use a nail file to gently shape them into your preferred style, whether it’s square, rounded, almond, or any other shape you desire. Ensure that all nails are of the same length and shape for a cohesive and professional look.
Once you’ve achieved the desired shape, it’s time to gently buff the surface of your nails. Use a nail buffer to smooth out any ridges or imperfections. This will create a clean canvas for the press on nails to adhere to and help in achieving a flawless finish.
Selecting the Right Press On Nails
Choosing the perfect press on nails is key to achieving a natural and comfortable fit. First, measure the width of your natural nails using a measuring tape or a flexible ruler. Take note of the measurements, as they will help you choose press on nails that closely match your nail size. Most press on nails come in various sizes labeled with numbers or letters, so refer to the sizing guide provided by the manufacturer to find the best fit for each nail.
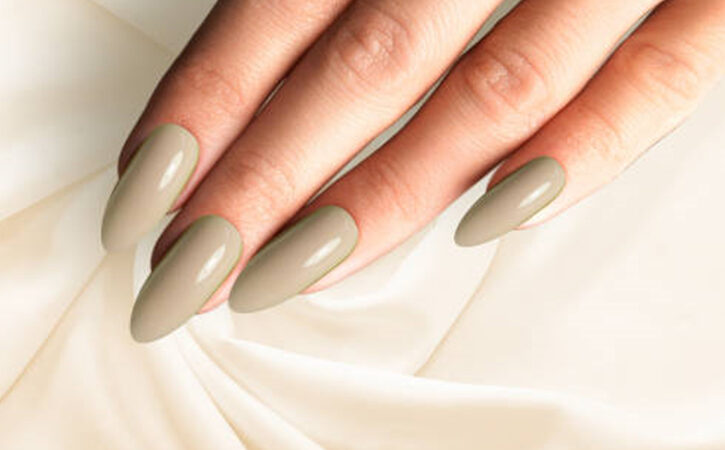
Consider the shape of your natural nails when selecting press on nails. If you have square-shaped nails, opt for press on nails with a square or squoval shape. Similarly, if your nails are round, choose press on nails with a rounded or oval shape. This will help in achieving a natural and seamless look.
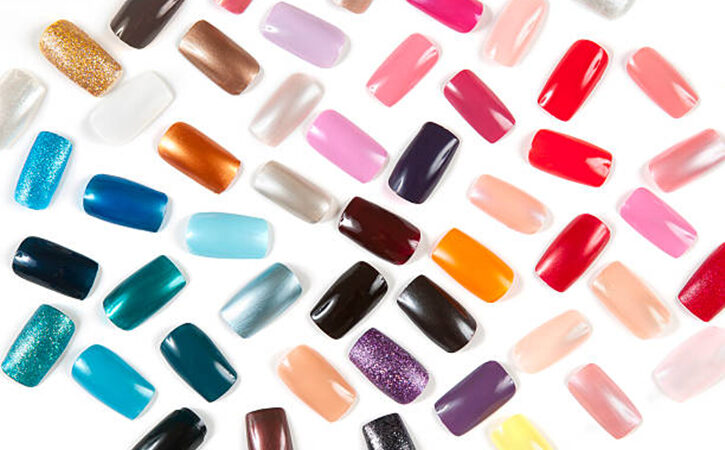
In terms of design, the options are endless. From solid colors to intricate patterns, there’s something for every style preference. Consider the occasion or your personal style when selecting a design. Whether you prefer a classic French manicure or a bold and vibrant design, choose press on nails that reflect your personality and desired look.
Applying the Press On Nails
Now comes the exciting part – applying the press on nails. From applying adhesive or using pre-applied adhesive tabs to achieving proper alignment and avoiding common pitfalls like air bubbles, we’ll provide tips and techniques for a professional-looking result.
Before starting the application, make sure you have all the necessary tools and materials within reach. You’ll need press on nails, adhesive or adhesive tabs, a cuticle pusher or wooden stick, nail glue (if not using pre-applied adhesive), a nail file, and a buffer.
To begin, carefully remove the press on nails from their packaging. Lay them out in the order you’ll be applying them to avoid confusion. If you’re using adhesive tabs, peel off the backing from one side and apply it to the press on nail, making sure it covers the entire surface. If you’re using adhesive, apply a small amount to the back of the press on nail.
Starting with your dominant hand, align the press on nail with your natural nail, making sure to position it close to the cuticle without touching it. Press firmly for a few seconds to secure the bond. Repeat the process for each nail, working from one side to the other. Take your time to ensure proper alignment and avoid rushing the process.
Once all the press on nails are applied, gently press down on each nail to ensure a secure and even bond. Check for any air bubbles or gaps between the press on nails and your natural nails. If you spot any, gently lift the affected area and press it back down to remove the air bubble. Use a cuticle pusher or wooden stick to push back the cuticles for a clean and finished look.
Allow the adhesive or nail glue to fully dry and set according to the manufacturer’s instructions. This is typically a few minutes but may vary depending on the product used. Avoid getting your nails wet or applying pressure on them during this drying period to prevent any lifting or displacement.
Blending and Shaping the Press On Nails
To create a flawless manicure, it’s essential to blend the press on nails with your natural nails seamlessly. After applying the press on nails, you may notice slight differences in length or shape compared to your natural nails. This is the perfect time to shape and customize the press on nails to achieve a cohesive and natural look.
Start by using a nail file to shape the press on nails to match the desired nail shape. Whether you prefer square, round, oval, or any other shape, gently file the edges of the press on nails in one direction to avoid any damage or unevenness. Take your time and make small adjustments until you’re satisfied with the shape.
Next, focus on blending the press on nails with your natural nails. Use a buffer or a gentle nail file to smooth out any visible lines or gaps between the press on nails and your natural nails. Be careful not to file too aggressively, as this may damage the press on nails or your natural nails. Aim for a seamless transition between the two surfaces.
Pay attention to the cuticle area as well. Use a cuticle pusher or wooden stick to gently push back any excess skin around the cuticles. This will create a clean and neat appearance.
Finishing Touches
Take your press on nails to the next level with our tips for adding those finishing touches. Explore options for nail art, stickers, or embellishments to personalize your manicure. We’ll also discuss ways to enhance the shine and longevity of your press on nails.
If you’re feeling creative, consider adding nail art or stickers to your press on nails. From delicate floral designs to geometric patterns, there are endless possibilities to express your style. Apply nail art using nail glue or top it off with a clear topcoat to secure and protect the design.
To enhance the shine of your press on nails, apply a high-quality topcoat specifically formulated for press on nails. This will not only add a glossy finish but also help in extending the longevity of your manicure.

Maintenance and Removal
Proper maintenance is essential for enjoying your press on nails for an extended period. We’ll share tips for preserving the quality and ensuring the longevity of your manicure.
Keep learning about maintaining and removing tips for your press-on nails…
Professional Tips: Making Your Press-on Nails Last
How to Keep Press-on Nails From Popping Off: The Easy Tips
How to Remove Press-on Nails: Tips for Safe and Easy Removal
To maintain your press on nails, avoid excessive exposure to water or harsh chemicals. Whenever possible, wear gloves when performing household chores or activities that may expose your nails to potential damage.
If a press on nail becomes loose or starts to lift, don’t panic. It’s a common occurrence and can be easily fixed. Apply a small amount of adhesive or nail glue to the affected area, gently press it down, and hold for a few seconds to secure it in place.
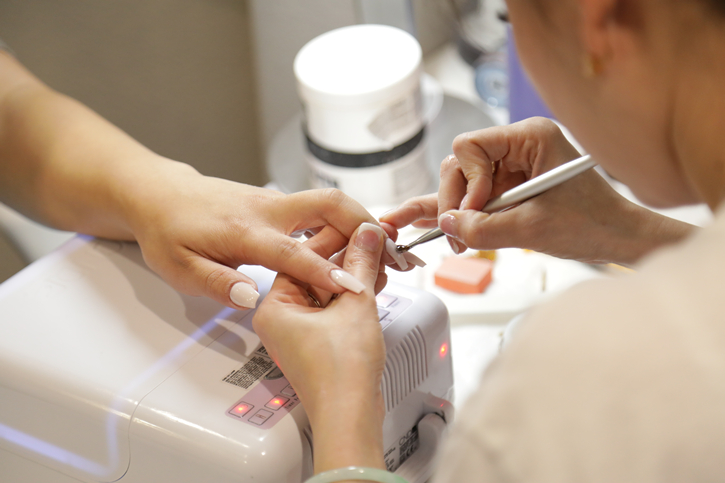
When you’re ready to remove the press on nails, it’s important to do it safely to prevent any damage to your natural nails. Start by soaking your nails in warm soapy water for about 10-15 minutes. This will help in loosening the adhesive. Gently lift the press on nails from the sides using a cuticle pusher or wooden stick. Avoid forcefully pulling or ripping off the press on nails, as this may damage your natural nails. If there’s any remaining adhesive residue, gently buff it away using a nail buffer.
Final Words
Congratulations! You’ve mastered the art of applying press on nails. With this comprehensive guide, you now have the knowledge and techniques to achieve flawless and stunning manicures in the comfort of your own home.Enjoy the compliments and confidence that come with flaunting your beautiful press on nails!